
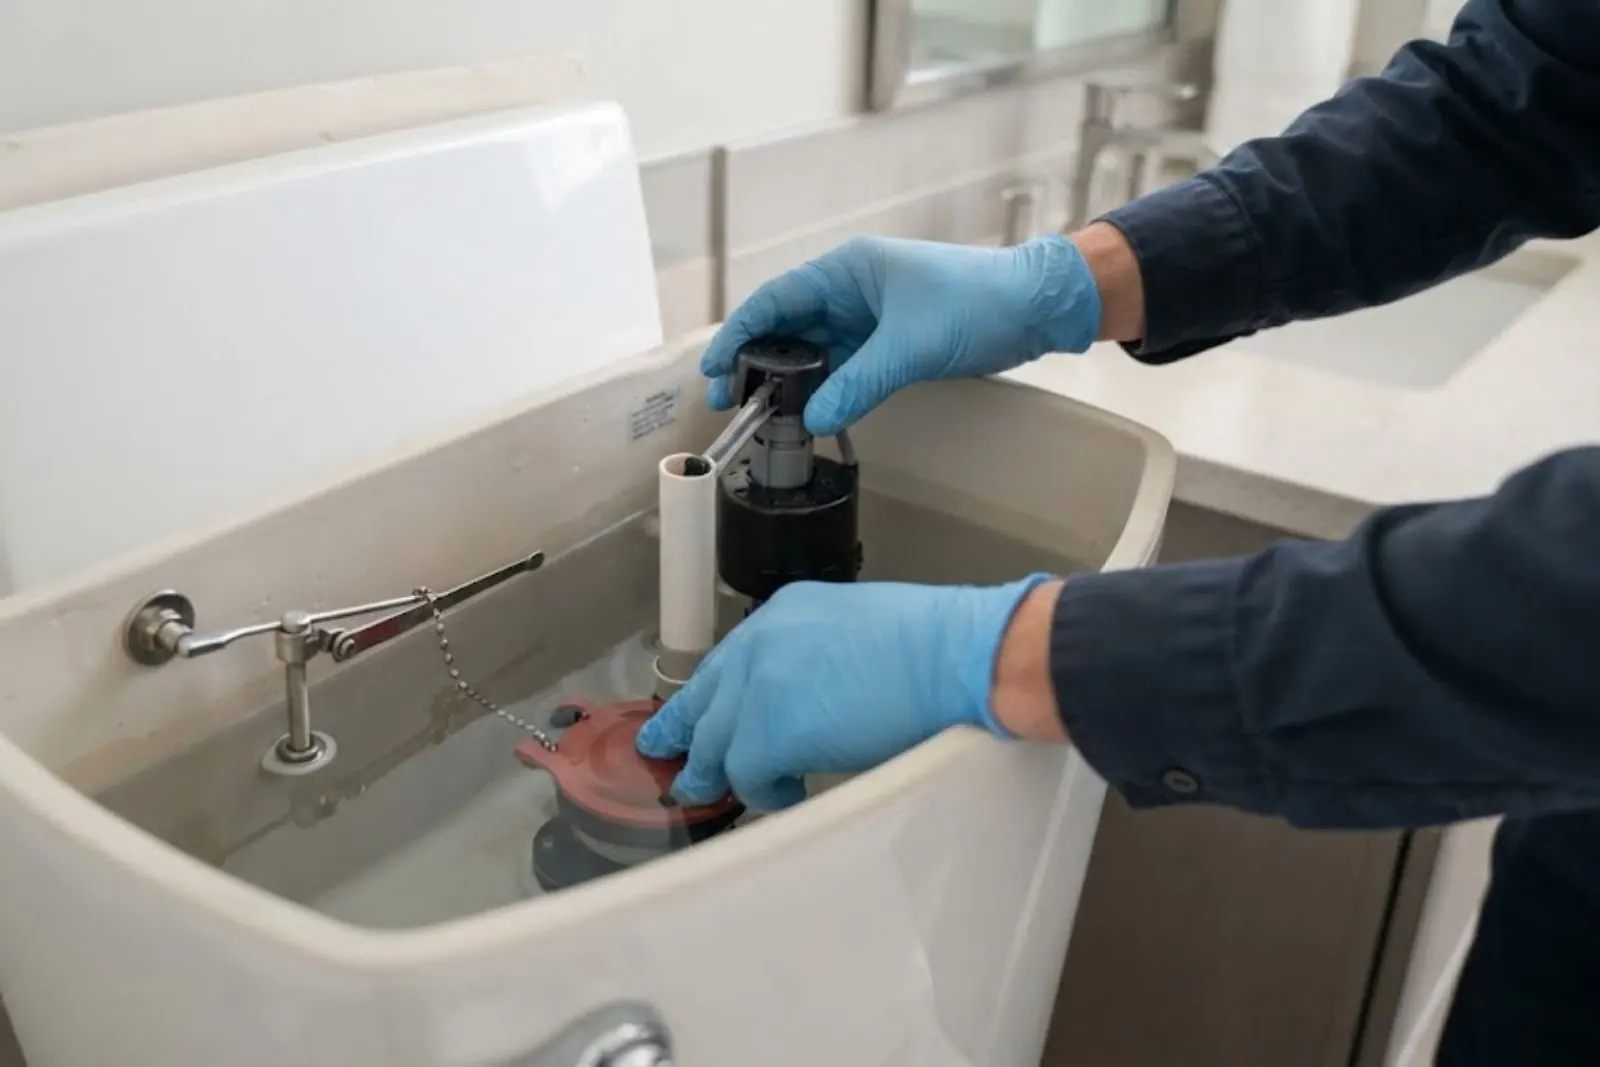
The tank gasket, often called the tank-to-bowl gasket or spud washer, is the rubber seal where the tank meets the bowl. To replace it, shut off the water, drain the tank and disconnect the supply line. Then remove the two or three tank bolts, lift the tank off, swap the gasket, and set the tank back. Tighten the bolts a little at a time. The whole job usually takes an hour or two for a first-timer.
Do it yourself if the toilet is a standard two-piece model and the shutoff valve works. Call a plumber if the tank is cracked, the bolts are rusted solid, the shutoff valve will not close, or the bowl itself is leaking at the floor.
Is the gasket really your problem?
A leaking tank gasket shows up as water dripping from the joint between the tank and the bowl, usually after a flush or while the tank refills. Water on the floor can also come from the supply line, the shutoff valve, the tank bolts, a sweating tank, or the wax ring at the base. Dry everything with a towel and watch where the first bead of water appears.
Many people blame the wax ring first. If the floor is wet only after a flush and the leak sits at the tank joint, the gasket or the tank bolts are the likelier cause.
Tools and parts to gather
- A replacement gasket kit that matches your toilet brand and model, or a universal kit that lists your model.
- New tank bolts, washers and nuts. They are often included in the kit and worth replacing.
- An adjustable wrench, a screwdriver and a flathead for the bolt heads inside the tank.
- A sponge, towels and a small bucket for leftover water.
- A new supply line if the old one is stiff, kinked or crusty at the fittings.
- Gloves and a flashlight for working behind the tank.
Installing the gasket, step by step
Close the shutoff valve
Turn the valve on the wall or floor clockwise until it stops. If it spins freely or will not close, stop here and call a plumber.
Empty the tank
Flush and hold the handle down. Sponge out the remaining water so the tank is light and dry.
Disconnect the supply line
Hold the fitting at the bottom of the tank with one hand and loosen the nut with the other. A little water will drip out.
Remove the tank bolts
Hold the bolt heads inside the tank and unscrew the nuts underneath. Rusted nuts may need penetrating oil and patience.
Lift the tank off
Take it straight up with both hands and set it on a towel. Tanks are heavy and porcelain chips and cracks easily.
Swap the gasket
Pull the old one off the spud at the bottom of the tank. Wipe the porcelain clean and set the new gasket in place, large side down as the instructions show.
Reseat the tank
Lower it onto the bowl so the gasket aligns with the opening. Fit the bolts with their rubber washers inside the tank and metal washers underneath.
Tighten gradually
Alternate between the nuts, a half turn at a time, until the tank sits level. Stop when snug, because over-tightening cracks the porcelain.
Reconnect and test
Reattach the supply line, open the valve slowly, let the tank fill, and flush a few times. Dry the joint with a paper towel and check for beads of water.
Want a plumber to look at it?
Call the 24/7 line, describe what you found and hear a clear price before work starts.
Which seal is leaking? A quick guide
| Where the water shows | Likely source | Fix |
|---|---|---|
| Between tank and bowl, after a flush. | Tank gasket or bolt washers. | Replace gasket and bolt set. |
| Under the tank bolts only. | Worn rubber bolt washers. | Replace bolts and washers. |
| At the supply connection. | Loose nut or worn washer. | Tighten or replace the supply line. |
| At the floor around the base. | Wax ring or loose closet bolts. | Reset the toilet with a new wax ring. |
| Whole tank sweating. | Condensation, not a leak. | Dry the tank and check humidity and cold supply. |
| Constant trickle into the bowl. | Flapper or fill valve, not the gasket. | See toilet repair. |
Mistakes that cause a new leak
Cranking the nuts
Porcelain does not flex. A tank that cracks has to be replaced, and the new gasket will not save it.
Uneven tightening
Tightening one bolt fully before the other tilts the tank and pinches the gasket on one side.
Reusing old bolts
Rusted bolts hide pits. They can leak even when the new gasket is perfect.
Wrong gasket shape
Gaskets differ in thickness and style. A near match can look fine and seep after a few days.
Skipping the dry test
Check the joint with a dry paper towel after several flushes. A wet towel catches slow seepage your eyes miss.
When this job is not a good DIY project
Call a licensed plumber if the tank is cracked, the toilet rocks on the floor, or the shutoff valve is stuck or leaking. A wobbly toilet means the seal at the floor may be failing, which is a bigger job than the gasket.
A plumber handling toilet repair can check the whole assembly in one visit, including the flapper, fill valve and wax ring.
Cost factors, without the guessing
Price depends on what else the plumber finds when the tank comes off. A gasket swap on a healthy toilet is a small job. Rusted bolts, a failing shutoff valve, a worn supply line or a damaged tank can each add parts and time.
If you plan to replace the toilet, the picture changes completely, and fixture installation is priced as its own job. Ask for a clear price before work starts, and ask whether it includes removing the old unit and what happens if the new one needs a different closet flange.
What a plumber checks that you might skip
- The shutoff valve and supply line, since both are cheap to replace while the tank is off.
- The flange and floor bolts, to see whether the toilet is secure and level.
- The flapper and fill valve, because they wear out on the same schedule as the gasket.
- Staining or soft flooring around the base that suggests an earlier leak.
El Mirage notes for toilet repairs
The city's 2024 water quality report lists hardness from 4 to 9 grains per gallon, with an average of 7. Mineral scale tends to build on the shutoff valve stem and the fill valve in water like that, so a valve that has sat untouched for years may be stiff. Operate it a few times before you start so you know it will close when you need it.
Census-based data puts the median home in El Mirage at about 2004. A toilet original to a home from that era is old enough that the tank bolts, flapper and fill valve may all be tired, so ask the plumber to look at them together rather than replacing only the gasket.
Frequently asked questions
There is no fixed lifespan. Rubber hardens with age and use, and gaskets in older toilets often start to seep before anything else fails. If your toilet is old and the tank bolts are corroded, replacing both together makes sense.
Usually yes. They are inexpensive, they come in most gasket kits, and the old rubber washers harden along with the gasket. New bolts also reduce the chance of a leak at the bolt holes.
Generally no. A gasket is meant to compress and seal on its own, and sealant can keep it from seating evenly. Follow the instructions in the kit.
Probably not. A toilet that runs is usually a flapper or fill valve issue, and a plumber can sort that out through plumbing service in Peoria or in neighboring towns such as Surprise.
A slow drip is not an emergency, but a leaking joint can ruin flooring over time. Close the shutoff valve if you cannot fix it today, and call the 24/7 line if water is spreading.
Ask about the shutoff valve, because hard groundwater leaves scale on valves and a stuck one is the most common reason a simple job becomes a bigger one. The city's 2024 report lists an average hardness of 7 grains per gallon. Also ask whether the plumber recommends replacing the supply line, since it is already disconnected.
Question not answered here? Call (623) 301-9042
Sources and code notes
Code reference: El Mirage follows the 2018 International Plumbing Code (IPC) and the 2018 International Fuel Gas Code (IFGC). Ask the El Mirage building department which rules and permits apply to your job. Hardness figures come from the City of El Mirage 2024 water quality report.